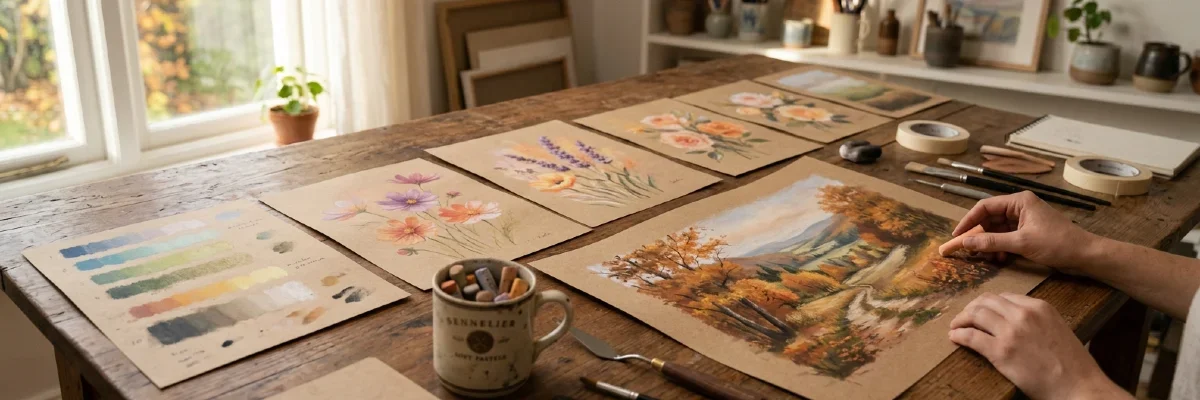
Powder pastels are a soft, velvety, and highly expressive art form. Learning them with the right materials and in the right order makes everything easier.
Why are Powder Pastels So Special?
Powder pastels offer a very different experience from other art forms — and this difference is felt from the first touch. In watercolor, the brush touches the paper; in powder pastels, it's your fingertips. You carry, mix, and spread the color directly with your hand. This tactile connection makes powder pastels an extremely intuitive and meditative art form.
The moment you touch the pastel stick to the paper, that velvety, deep color effect emerges. The colors blend together, the transitions soften, and an almost three-dimensional depth is created on the paper surface. This effect cannot be fully achieved in any other art form — it is unique to powder pastels.
Professor Şirvan defines powder pastels in a single word: romanticism. And that word says it all — that warm, deep, and emotional effect is felt in every work.
The Right Materials to Get Started
We've compiled all the materials that Şirvan Hoca recommends for beginners on a single page. You can browse them here instead of searching for them individually.
The 3 Essential Techniques You Need to Learn First
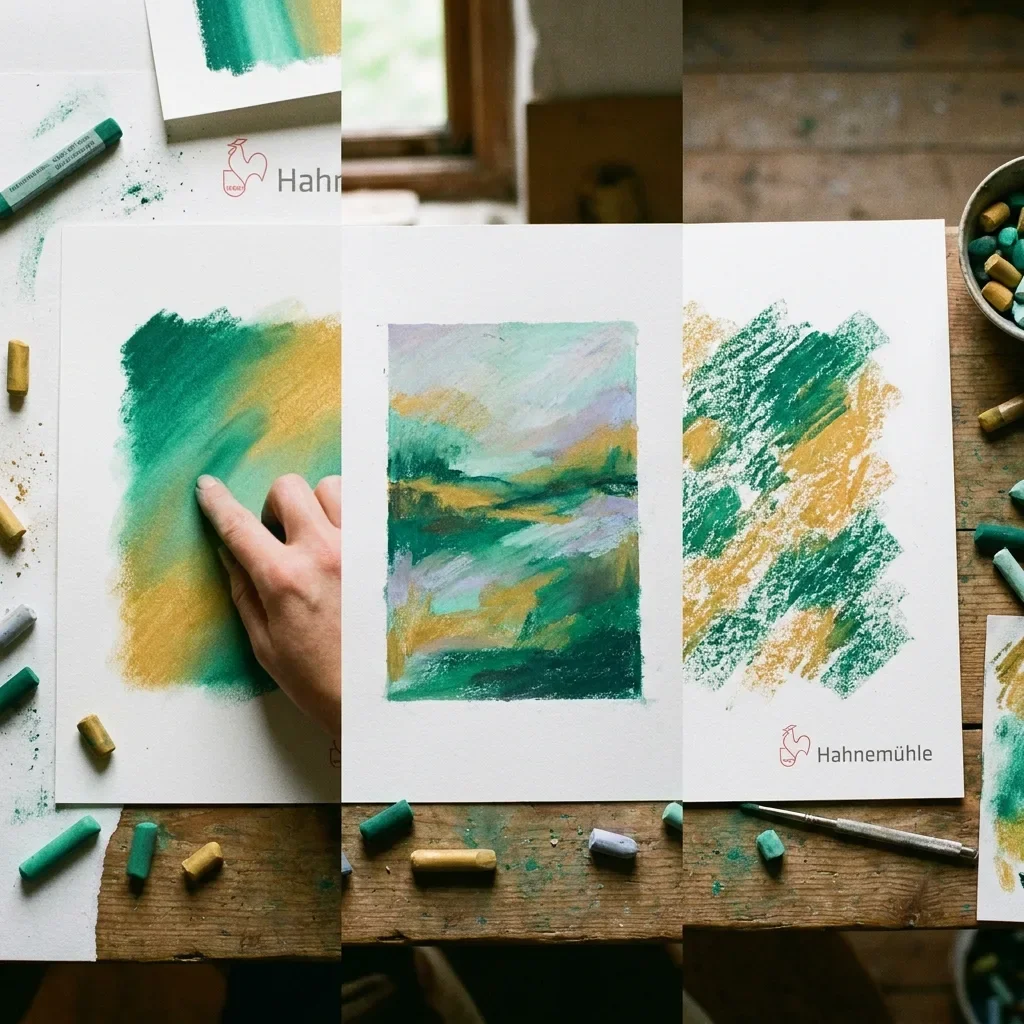
There are hundreds of techniques in pastel powder — but they all boil down to three. Once you learn these three, you can learn everything.
1. Blending
This is the most basic and magical technique in pastel powder. You blend two colors applied to the paper together with your fingertips or a blender. The result is that velvety, soft color transition — that's what makes pastel powder, pastel powder. Proceed with gentle, circular motions — don't rush, let the transition unfold naturally.
2. Layering
Applying one color on top of another creates depth and richness. The only thing to watch out for is that applying too much pressure will destroy the underlying color. Proceed layer by layer with light, gentle touches — each layer enriches the previous one.
3. Creating Texture
Different effects are achieved by using the surface texture of the paper. Gliding the pastel stick lightly across the paper leaves broken, textured marks — ideal for textures like tree bark, rock surfaces, and grass. Paper selection is crucial in this technique: a coarser surface gives a more pronounced texture.
5 Common Beginner Mistakes
These mistakes are common in almost everyone's pastel work — knowing them beforehand makes the process much easier.
1. Applying too much pressure
Pressing too hard when layering causes the underlying colors to disappear. The paper becomes saturated and doesn't hold new colors. The solution is simple: work with light, gentle touches — contact is enough, not pressure.
2. Using the setting spray too late
Using the setting spray before the work is finished causes the colors to bleed and spoils the result. Setting spray should only be applied after the work is completely finished.
3. Choosing the wrong paper
Smooth-surfaced papers don't hold pastels — the pastel crumbles, and the color doesn't transfer to the paper. Use textured papers specifically made for pastels, like Hahnemühle.
4. Mixing colors too early
Trying to mix colors before applying each color separately results in muddy results. Apply the colors separately first, then gently blend them with your fingertips.
5. Painting light areas
In pastels, light areas are those left open or painted with a lighter color. Dark colors shouldn't be applied over areas of light — once that's the case, it's very difficult to undo it. Working from light to dark avoids this mistake.
Frequently Asked Questions About Powder Pastels
Are soft pastels and oil pastels the same thing?
No — they are completely different materials. Soft pastels consist of pure pigment and minimal binder, giving a velvety and matte effect. Oil pastels, on the other hand, contain oil and wax, making them brighter and smoother. The techniques and paper choices are also different — they are not interchangeable.
Do soft pastels stain hands?
Yes — and this is perfectly normal. Hands get stained when blending with fingertips. This can be easily cleaned with soapy water after use. If you have sensitive skin, you can also use thin latex gloves — but artists who prefer direct fingertip contact with the paper prefer to work without gloves.
Is it necessary to use colored paper?
Not mandatory, but it is very effective. Gray backgrounds, in particular, give fantastic results for snow paintings and cold atmospheres. Hahnemühle's 9-color block allows you to experiment with different backgrounds — each color adds a different atmosphere to the work.
How should soft pastel works be stored?
After applying a fixing spray, they should ideally be framed and stored behind glass. They should be kept away from direct sunlight. Place protective paper over the artwork before framing — the pastel powder may spread.
How long does it take to learn pastel powder?
4-6 weeks of regular practice is enough to learn the basic techniques. Şirvan Hoca's beginner curriculum is designed in a 6-week structure — progressing step-by-step from simple flowers without knowing the materials, to tree paintings and landscapes.
From Şirvan Hoca
"Pastel dust is the very essence of romance. In every color transition, every fingerprint, there's a little emotion, a little warmth, and a little bit of you."
Learn Powder Pastel Making with Şirvan Hoca
Start your Powder Pastel Journey Today
Feel the color with your fingertips, discover the velvety transitions. Under the guidance of Şirvan Hoca, at your own pace, from wherever you like.